 Montage enlargements, where you show an ordered grouping of different photographs on the same print, are very easy to create with our iPrintsPro/ROES service.
You should be able use our Design Your Own option (with Pager) to create your first Montage design in under an hour. You’ll pick up speed with subsequent designs.
Best yet, you’ll be able to save every design you create (under My Templates) so that you can recall any template for a future job. Once recalled you can just drag and drop new images into the template in seconds, creating beautiful, highly profitable montages that will impress your clients. We’re going to show you how to start by creating a basic Montage. Then, we’ll teach you how to work from your starting layout to do more advanced design by modifying the nodes within your Montage.
Should you use a “basic” montage or go “advanced? You may very well find that a basic Montage, such as this one, will be all you need. To go from “basic” to “advanced” is fairly simple. All you’ll need to do is to change the shapes, sizes or number of your nodes in your design. You’ll find that modifying your basic ROES layout is quick and easy using ROES tools. It’s just a matter of starting with a basic design and then using the built-in editing tools to create a more complex, advanced design.
A “Basic” 3 Across x 4 Down
16” x 20” Montage
Designing a Basic Montage
You can create a Montage from any “Design Your Own” enlargement size.
 Begin by opening a Sizes palette (if one is not already open) by clicking on the Sizes Begin by opening a Sizes palette (if one is not already open) by clicking on the Sizes button. button.
Then, select the Catalog you want (i.e. Matte, glossy or Metallic paper) by clicking on Catalogs in the pop-up menu that will open. Select the Show Sizes Palette… from the pop-up menu. You’ll see all the available print sizes you can choose from. (If you have a catalog already open you can change catalogs by clicking on the  button at the bottom of the catalog sizes window.) button at the bottom of the catalog sizes window.)
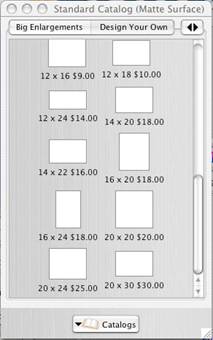
This example shows the Matte catalog. We’ve used the scroll bar to just display the biggest enlarging sizes in the Matte catalog. However, a montage can be made on any customizable print size in our catalogs.
Click on the Design Your Own tab at the top of the palette window to select customizable sizes.
Now, click on the enlargement size you want to make. In our example we will click on the 16” x 20” graphic.
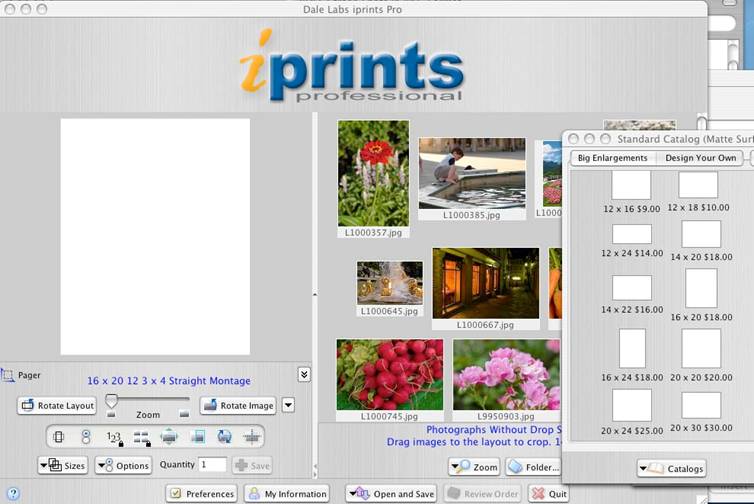
Choose the pictures you want to include in your Montage by clicking on the Folder… button. You’ll be selecting the folder containing your image files from your computer’s hard drive or a CD. Thumbnail image of your photos will appear on the right of your monitor window. button. You’ll be selecting the folder containing your image files from your computer’s hard drive or a CD. Thumbnail image of your photos will appear on the right of your monitor window.
Here’s the screen you should be seeing:
Now you can begin working on your Montage.
Start by clicking on The Pager  icon to open up the Pager tools that you will use. icon to open up the Pager tools that you will use.
Here are the Pager tools you’ll be working with. (Note that if you click on tools you’ll be working with. (Note that if you click on and the tools are grayed out you are still in the standard print or enlarging sizes; not the Design Your Own sizes where you need to be. So, click on the Design Your Own tab at the top of the Catalog window.) and the tools are grayed out you are still in the standard print or enlarging sizes; not the Design Your Own sizes where you need to be. So, click on the Design Your Own tab at the top of the Catalog window.)
These tools will appear under the thumbnail pictures on the right of your screen:

We’ll go into the use of these tools in the “Advanced” section later. For now, please note the Montagetool, which is highlighted. You’ll be using this tool to create your “Basic” montage.
These tools are under the layout window pictures on the left of your screen:
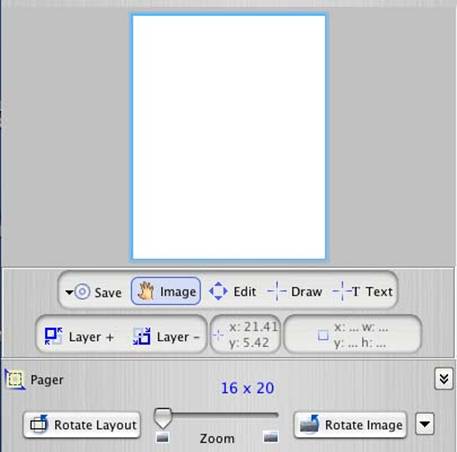
The Zoom slider will allow you to enlarge you image within the layout window.
The Image tool lets you move the image around within the layout window for placement. When you are not in the Pager mode you will see the same hand icon on the inside of the layout window when you place your cursor there. You’ll use the Zoom and Image tools in conjunction, switching back and forth from one to the other, to precisely size and place your images. tool lets you move the image around within the layout window for placement. When you are not in the Pager mode you will see the same hand icon on the inside of the layout window when you place your cursor there. You’ll use the Zoom and Image tools in conjunction, switching back and forth from one to the other, to precisely size and place your images.
The Edit tool allows you to select any individual node to make adjustments to it. Depending on where you place the on screen image of your node, you will be able to move the node to different positions within your layout, change its shape or size, adjust its angle or…by using the right mouse button on a PC or a Control/Click on a Mac…remove, duplicate or make other major changes to the node. (You’ll see the Edit icon change its shape to indicate its function as you move it around within your node.) tool allows you to select any individual node to make adjustments to it. Depending on where you place the on screen image of your node, you will be able to move the node to different positions within your layout, change its shape or size, adjust its angle or…by using the right mouse button on a PC or a Control/Click on a Mac…remove, duplicate or make other major changes to the node. (You’ll see the Edit icon change its shape to indicate its function as you move it around within your node.)
You’ll use the Draw  tool when you want to add picture nodes and the Text tool when you want to add picture nodes and the Text Drawing tool to add nodes that will contain type. Drawing tool to add nodes that will contain type.
You will use the Layer + and Layer –tools to place your nodes in layers above or behind each other. These tools let you create overlapping pictures, with some pictures appearing to be on top of others. to place your nodes in layers above or behind each other. These tools let you create overlapping pictures, with some pictures appearing to be on top of others.
|
