How To Create A Montage Enlargement


Here are the steps to follow for your basic Montage design:

1) Rotate the layout, if necessary, to the vertical or horizontal position you wantfor your enlargement by clicking on the button.
2) Decide if you will want a background picture or fill color.

The background node is automatically included in each design as a default setting. You may leave this background node unfilled…or you can choose to drop in an image and use the Pager controls to change the Opacity or even convert that background image to black and white (click on and then click on a B&W option radio button). You may also choose a to Fill the background with a color.

However, for a basic montage we would suggest leaving the background open, with no image or fill.

3) Click on the Montage button.


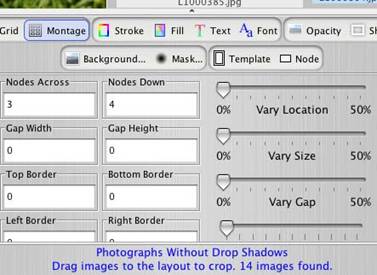
4) This set-up screen will open:

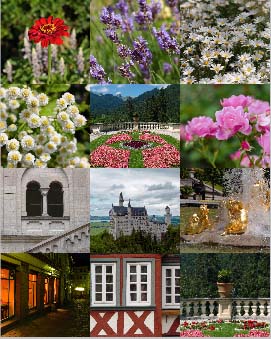
Note: We’re setting up our montage print as a borderless enlargement with no gaps between the image nodes.

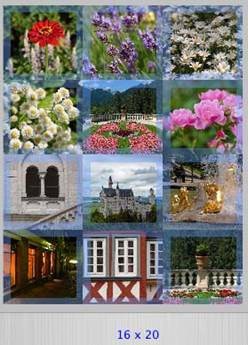
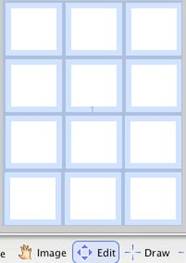
The montage is being set up for 3 image nodes across and 4 down on a vertical 16” x 20” enlargement.

You are free to change these settings to fit your design. However, if you decide to place gaps in between your images or borders we would suggest that you add a background image or a fill color.


5) Click on the button and you’ll see a screen open that contains a visual graphic of the nodes you have defined.

Note: The Edit button is highlighted and all the nodes in the layout are highlighted in blue, indicating that they are all selected. You can deselect the group by clicking outside of the window and then use the Edit toolto select and work with any individual node. You’ll be using the Edit tool when we get to the more “Advanced” montage sections later. (For now, though, just move on to the next step.)


6)
At this point you can click on the Pager button to turn off the 
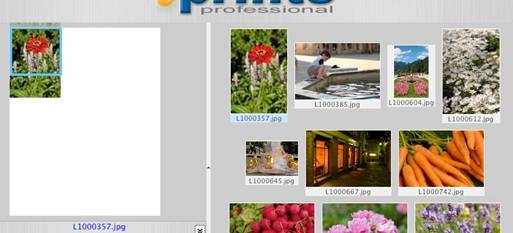
Pager tools and you have a ready-made template. You can drag-and-drop images into each of the nodes and use the Zoom and Image tools to individually crop each picture.

Before using the template, though, you may want to save it for future use. This will allow you to recall this template at any time, saving you the work of re-designing it. To save a template, click on the Pager button again to open the Pager tools. Then, click on the Save 
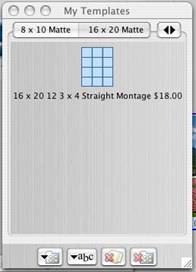
tool. You will be asked, via a pop-up box, to name a group for your template and a description of the individual template. Once saved, the template will go into your My Templates window. Here’s how the My Templates window would look for this layout:

To recall this template at any time in the future you need only double-click on the template and it will open up in your layout box. Then, just drag a fresh set of images from your thumbnails into the nodes. It’s that easy.

7) Now you can drag-and-drop individual thumbnail images into the nodes. Crop and place your pictures by using the Zoom tool and hand Image placement tool within the node. Here’s what this will look like in our example:

The picture on the right shows how the layout would look once we have dragged and dropped all of our images from the thumbnail screen into the nodes:


8) Your final step is to add the finished montage to your enlargement order by clicking on the button.

Important note: If you have no image or fill color in the background node you will have one node empty. So, the Add to Order button will be grayed out, preventing you from placing the order. To use the Add to Order button (turning it from gray to color) you will have to depress the Alt key on a PC or the Option key on a Mac. The button will change from gray to color and you will be able to click on it to add the montage to your order.

Now, you will place your order to our laboratory by clicking on the Review Order button. Our ROES program will guide you through the next steps. You’ll have the option of either transmitting your order online or burning it to a CD-R…just as you would any other ROES order.

When your digital files arrive at our laboratory we will individually color correct the color image in each of your nodes, giving you an outstanding enlargement.

Here’s what this finished montage…with no gaps or strokes on the nodes…will look like as a 16 x 20:

A Finished, Basic Montage
With No Gaps or Borders